
Use this guide to set up a recurring transfer local accounts in Next Gen CIB.
Step 1: Start a transfer
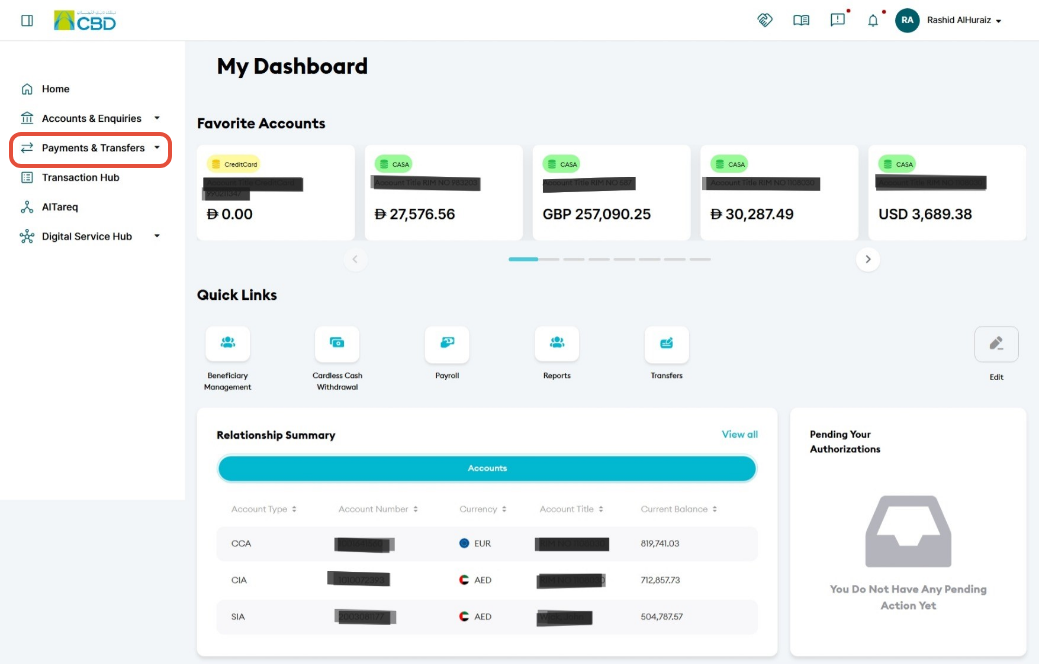
- Log in to iBusiness
- Navigate to:
Payments & Transfers ➜ Transfers - Click Initiate Transfer
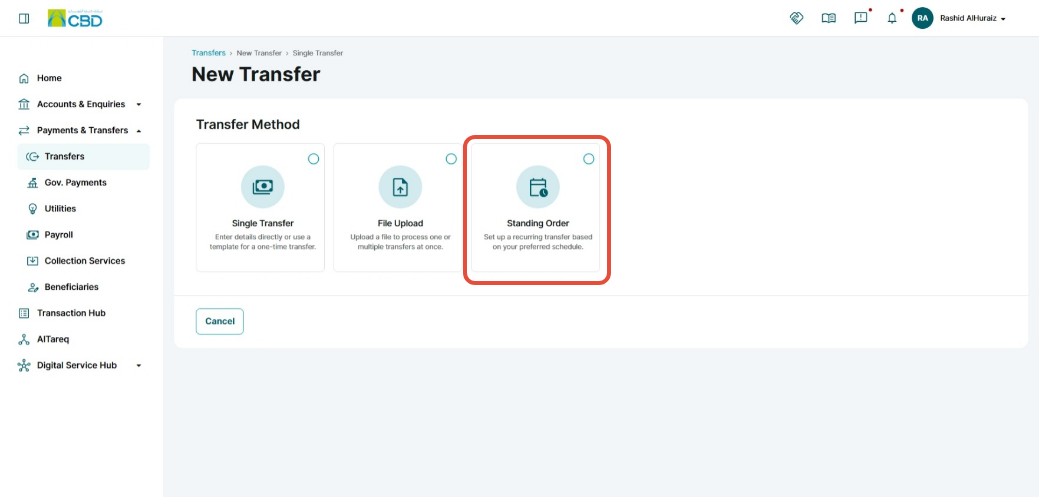
Step 2: Select standing order type
- Click Standing Orders
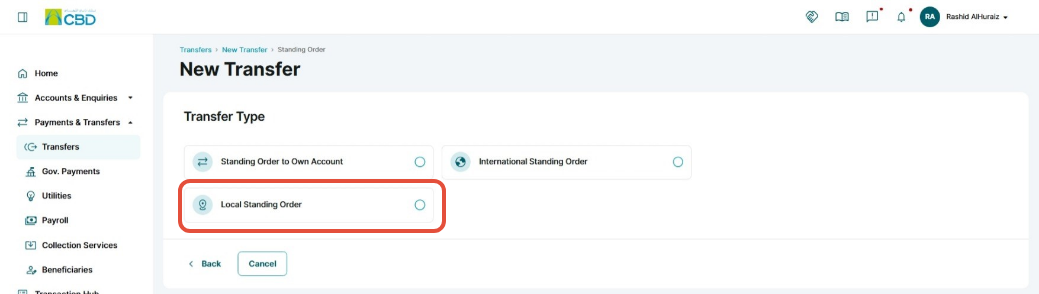
- Select Local Standing order
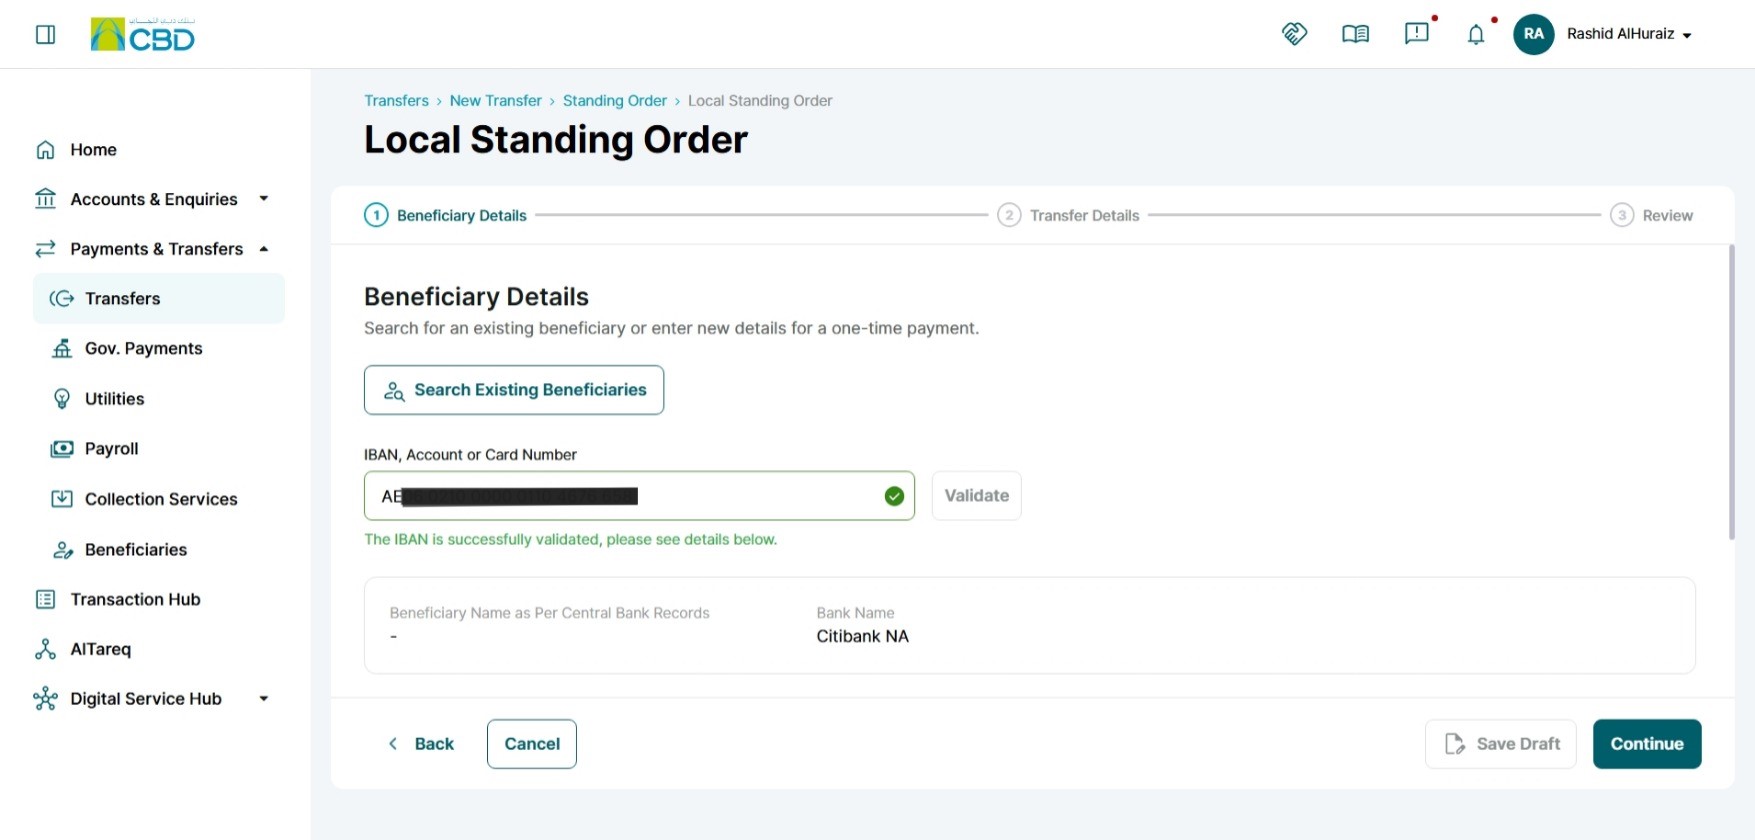
Step 3: Beneficiary details
Option 1: Search Existing Beneficiaries
- Use the search bar and search by name, IBAN, account or card number
- Select the beneficiary
- Click Proceed
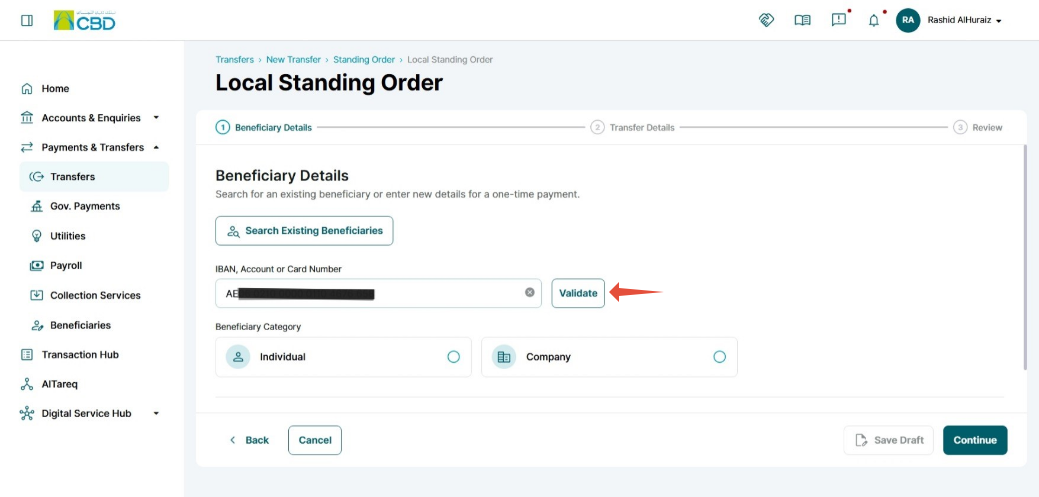
Option 2: Enter Details Manually
- Select the beneficiary category (Individual or Company)
- Enter beneficiary details
- Enter the beneficiary's IBAN.
- Click Validate.
- The system will verify the IBAN and retrieve the beneficiary bank details.
When validation is successful, a confirmation message will be displayed indicating that the bank identifier has been verified.
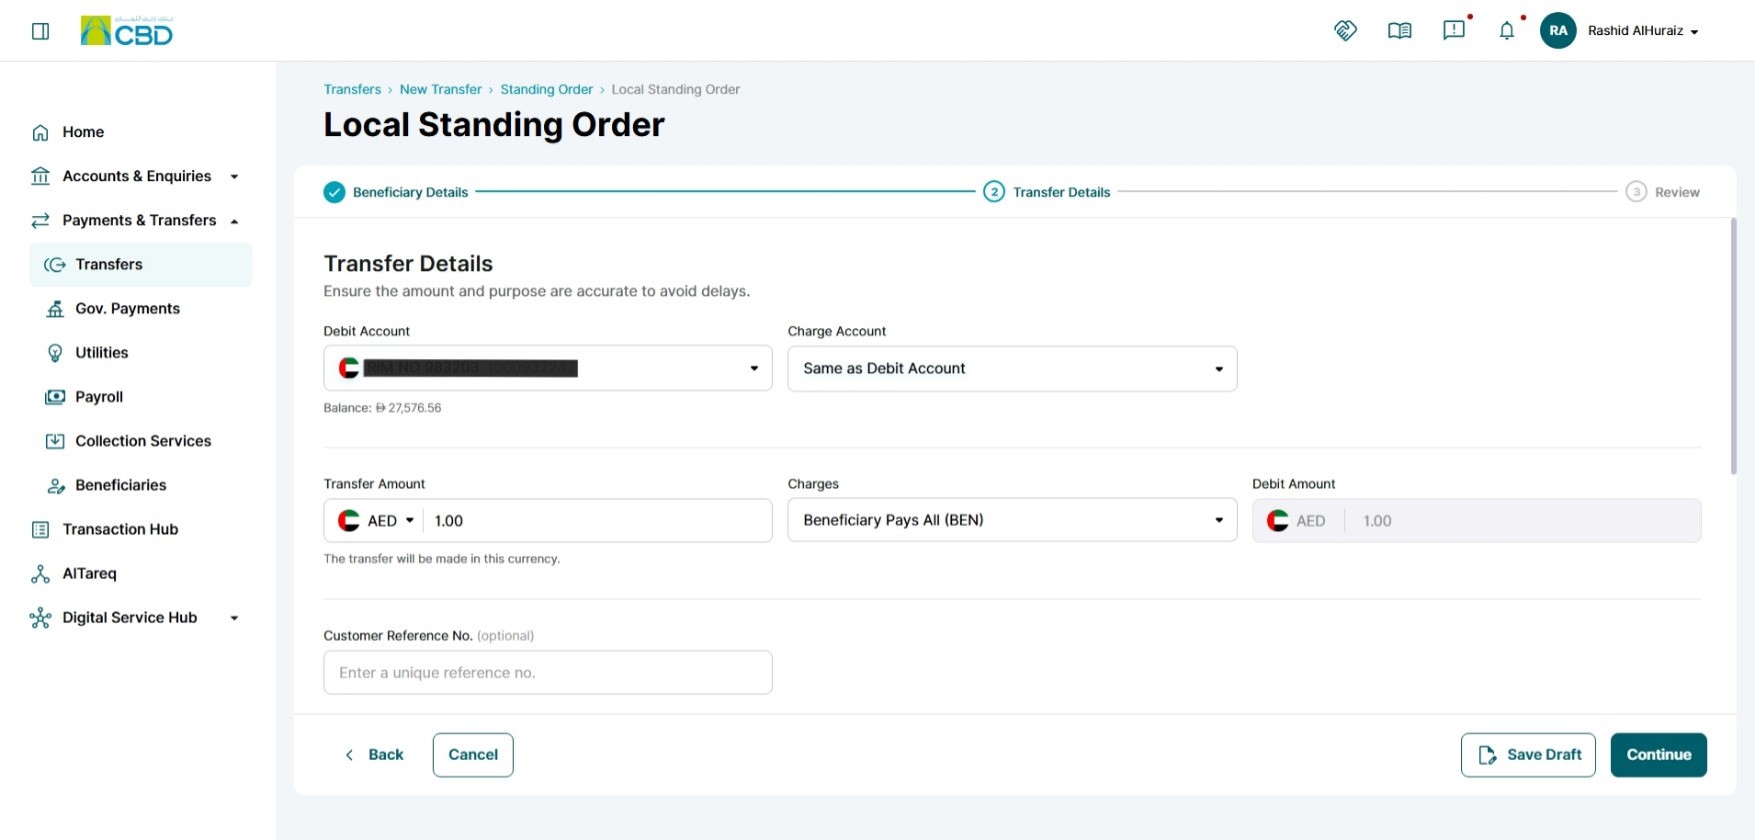
Step 4: Transfer Details
- Fill in all mandatory fields
- Schedule the period
Complete the following fields to proceed with the transfer:
- Debit Account – Select the account from which the funds will be deducted.
- Charges Account – Select the account that will be used to pay any applicable transfer charges (if different from the debit account).
- Transfer Amount – Enter the amount you wish to transfer.
- Transfer Charges– Choose the charge bearer option:
- OUR – Sender pays all charges.
- SHA – Charges are shared between sender and beneficiary.
- BEN – Beneficiary bears all charges.
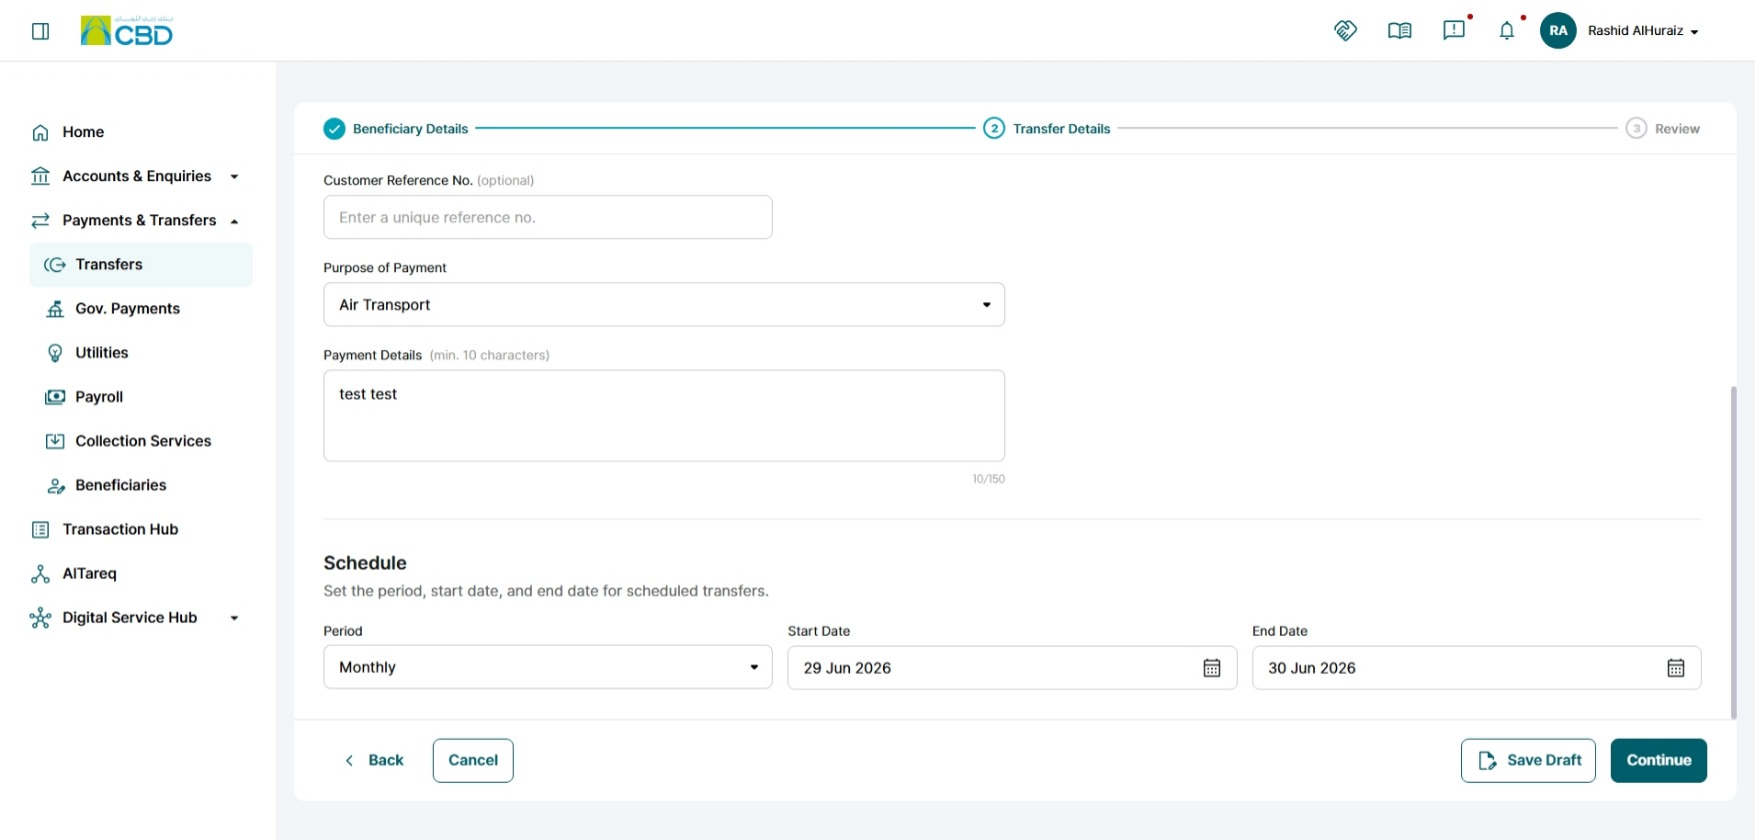
- Customer Reference Number – Enter a reference number for your records and future tracking of the transaction.
- Purpose of Payment – Choose or enter the reason for the transfer (e.g., salary, invoice payment, personal transfer).
- Payment Details – Provide additional information related to the payment, such as invoice numbers or payment descriptions.
- Save Draft: this will save the transfer for later use. Learn More
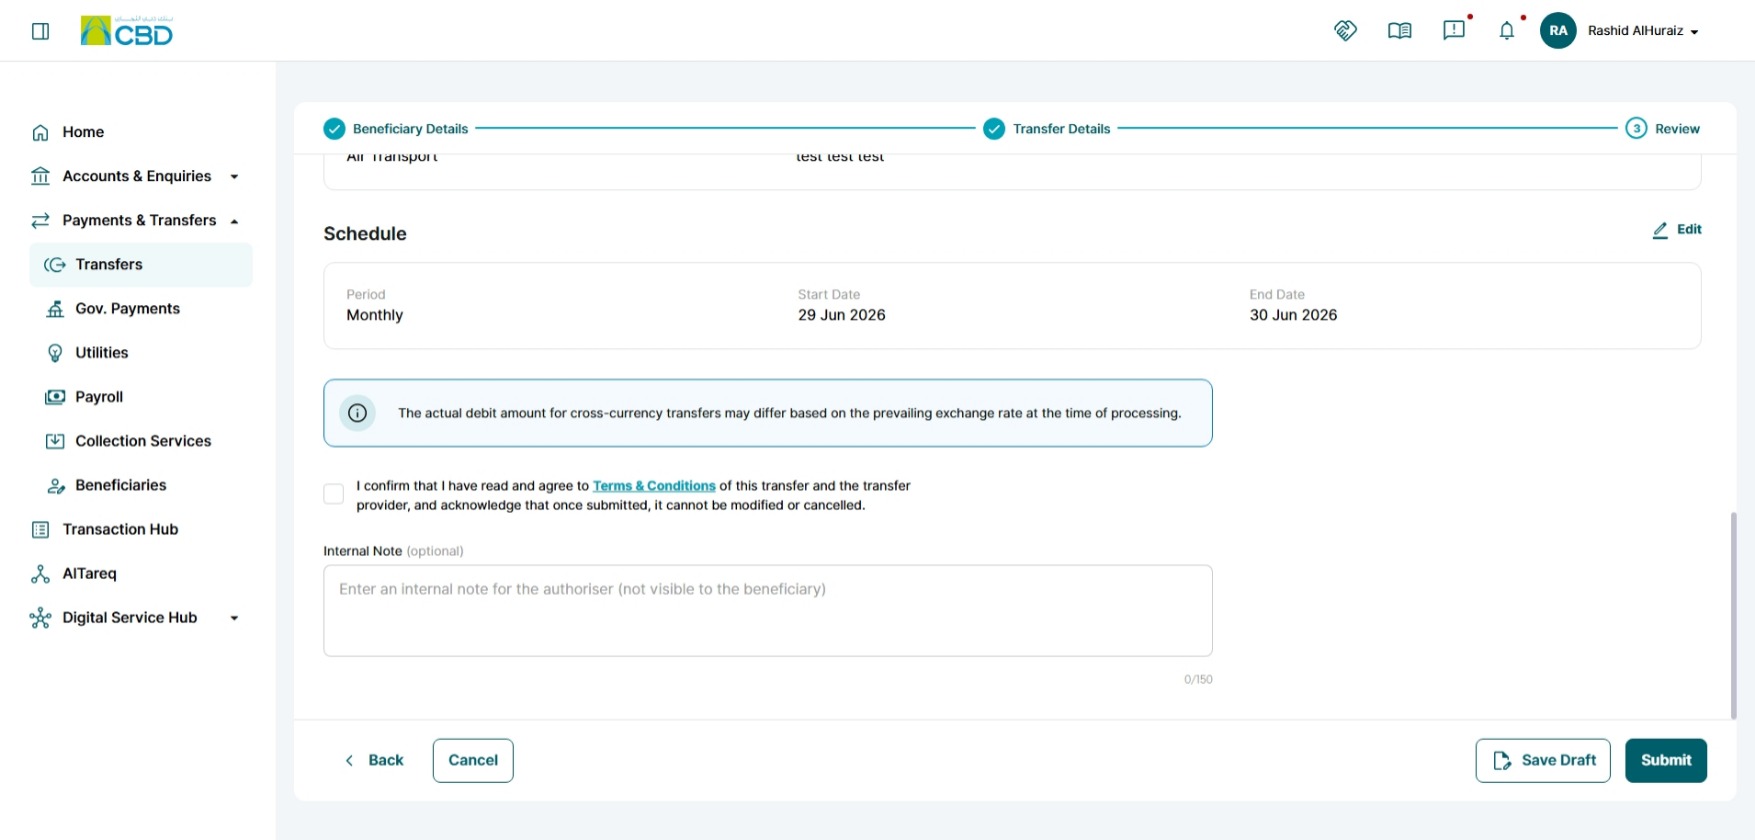
- Schedule:
- Period – Select the transfer frequency (e.g., Daily, Weekly, Monthly).
- Start Date – Specify when the recurring transfer should begin.
- End Date – Specify when the recurring transfer should stop.
Once all mandatory fields have been completed, review the details carefully and click Continue to proceed with the transfer.
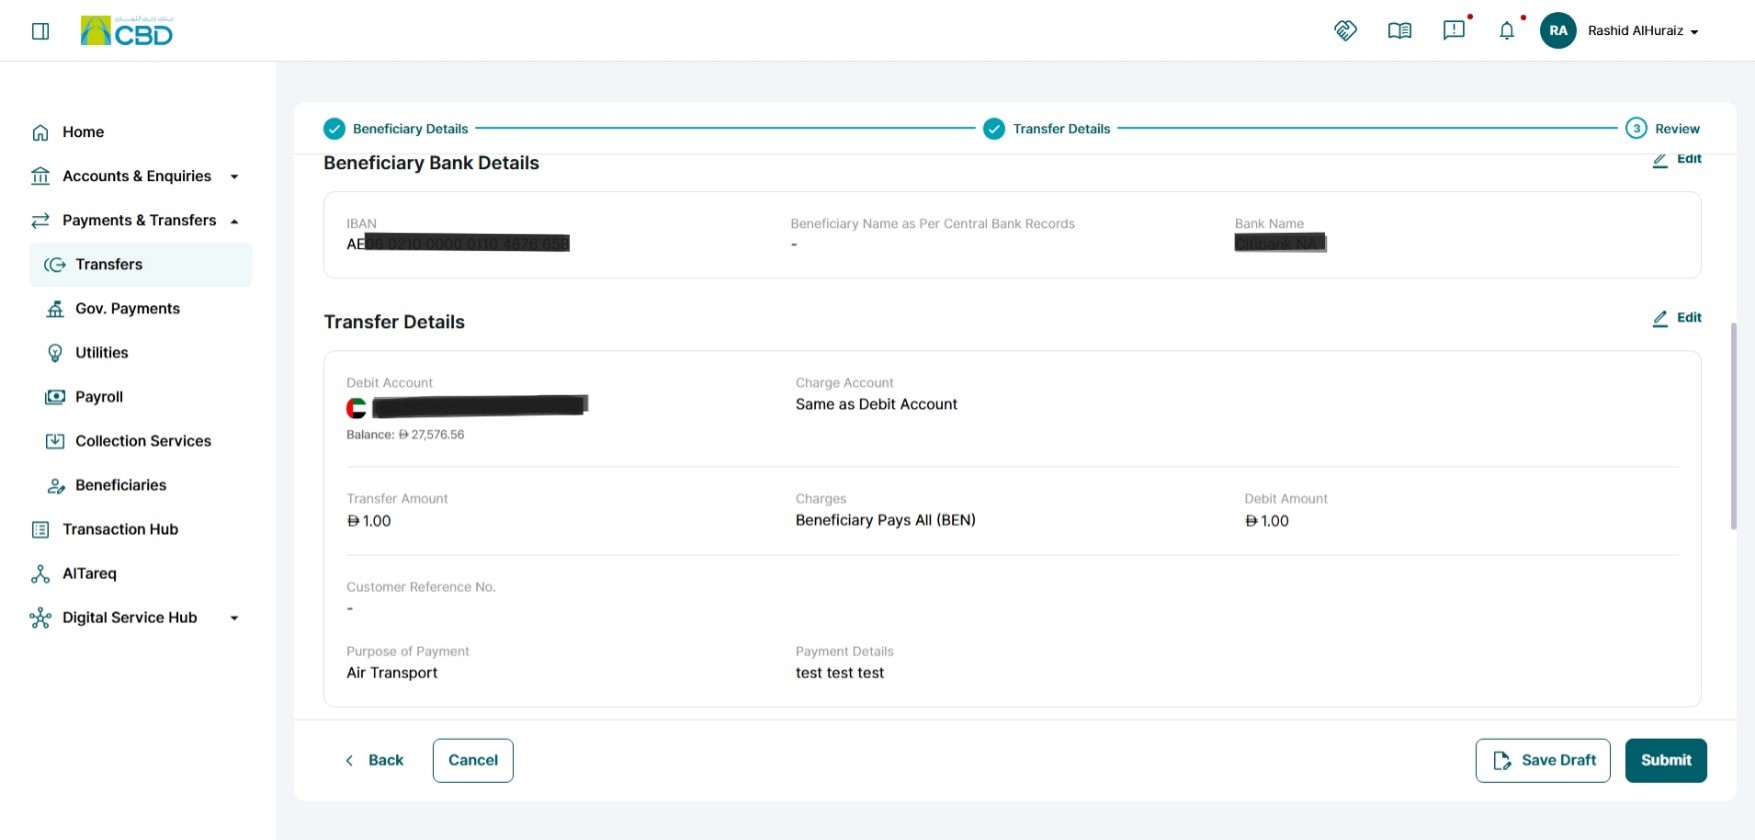
Step 5: Review and submit
- Review the details on the Summary screen
- Accept the Terms & Conditions
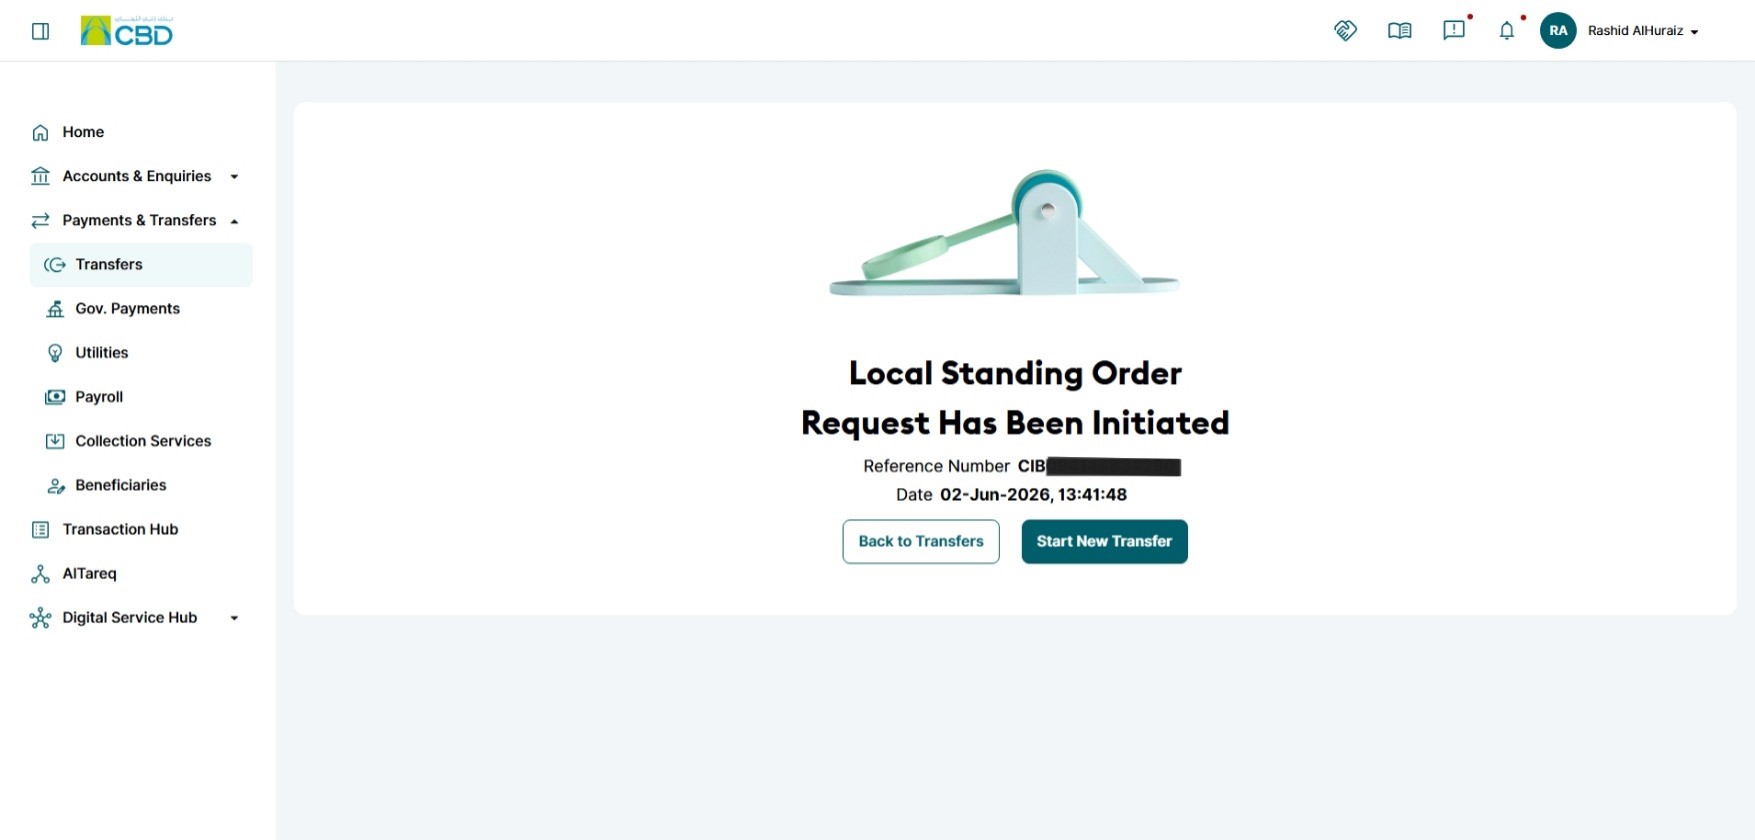
- Click Submit
Step 6: Authenticate the transaction
- A notification will be sent to your paired mobile device
- Approve the request to proceed
Step 7: Approval (if applicable)
- If your organization follows a maker/checker process, the request must be approved
- The approver should:
- Log in to iBusiness
- Go to Transactions ➜ Pending Your Authorizations
- Locate the request under Within CBD Standing Order
- Review and Approve or Reject the request
Helpful Tips
- Double-check account details and schedule before submission
- Ensure sufficient balance for recurring transfers
- Submit standing orders in advance to avoid delays in execution
- Keep track of the request through the reference number and approval queue