
Overview:
This guide provides step-by-step instructions for initiating an International Transfer via File Upload in Next Gen CIB using the iBusiness platform.
Use this process for:
- Bulk international payments
- Multiple cross-border transfers
- High-volume foreign currency transactions
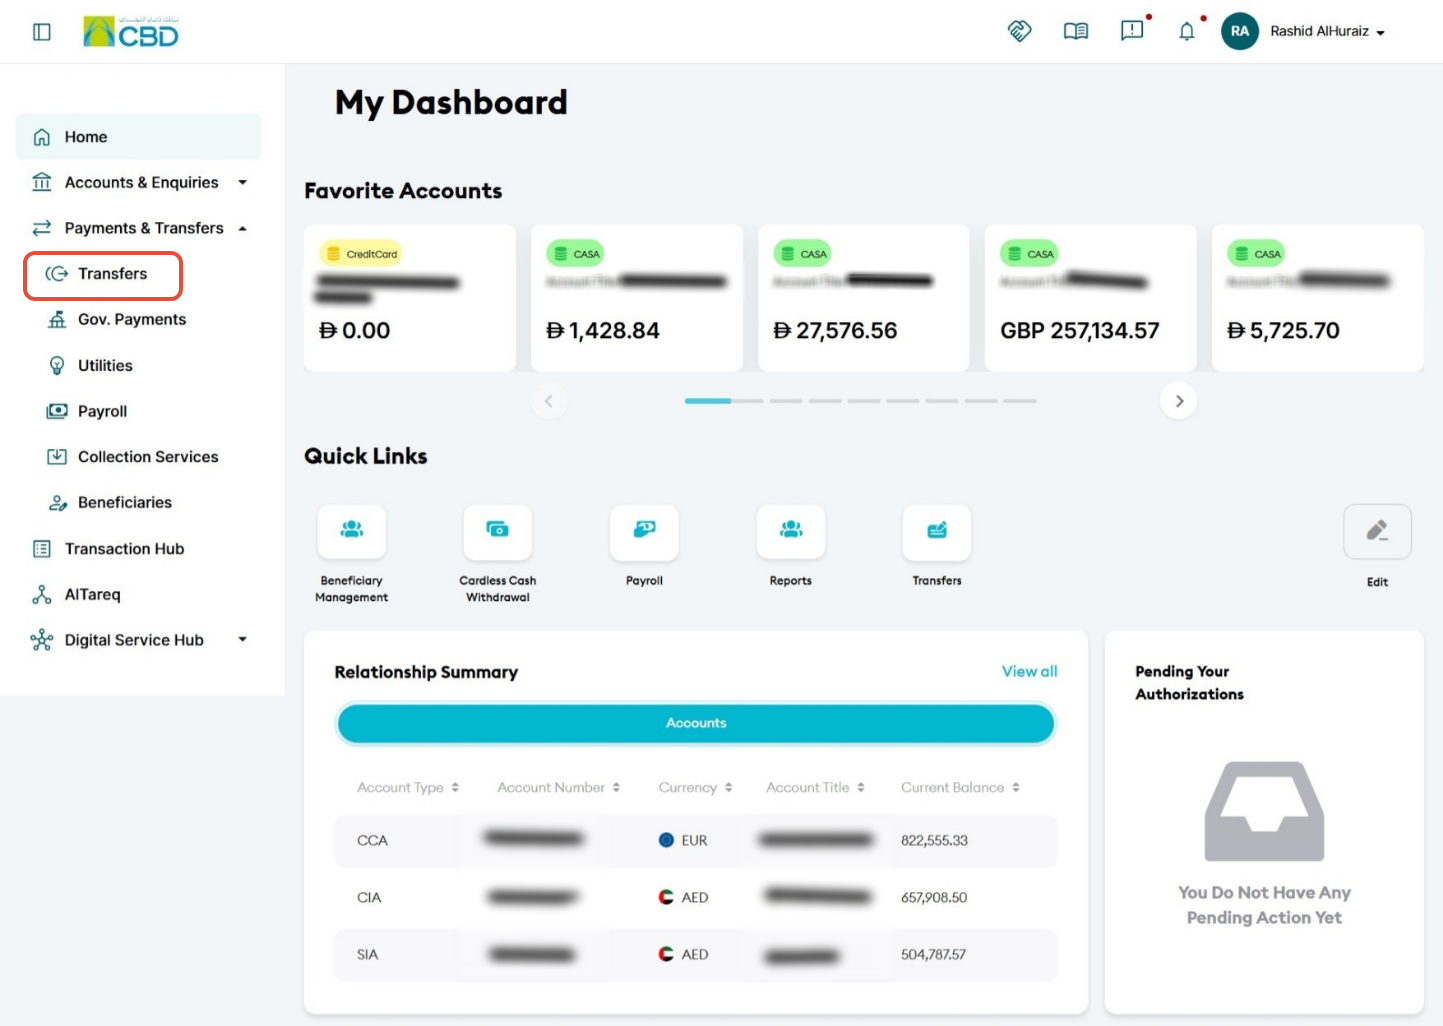
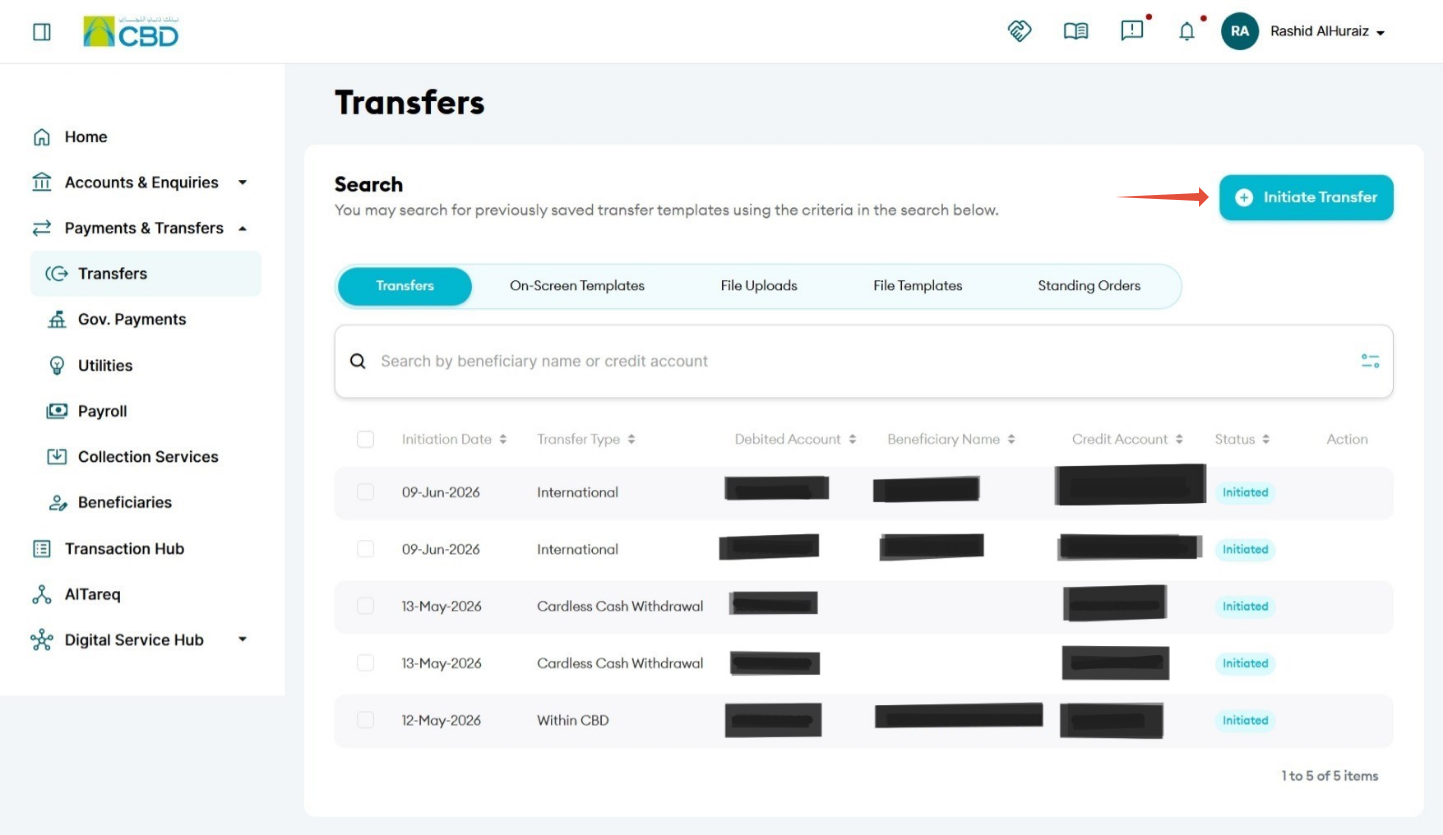
Step 1: Navigate to International Transfers
- Log in to iBusiness.
- Navigate to: Payment & Transfers > Transfers > Initiate Transfer
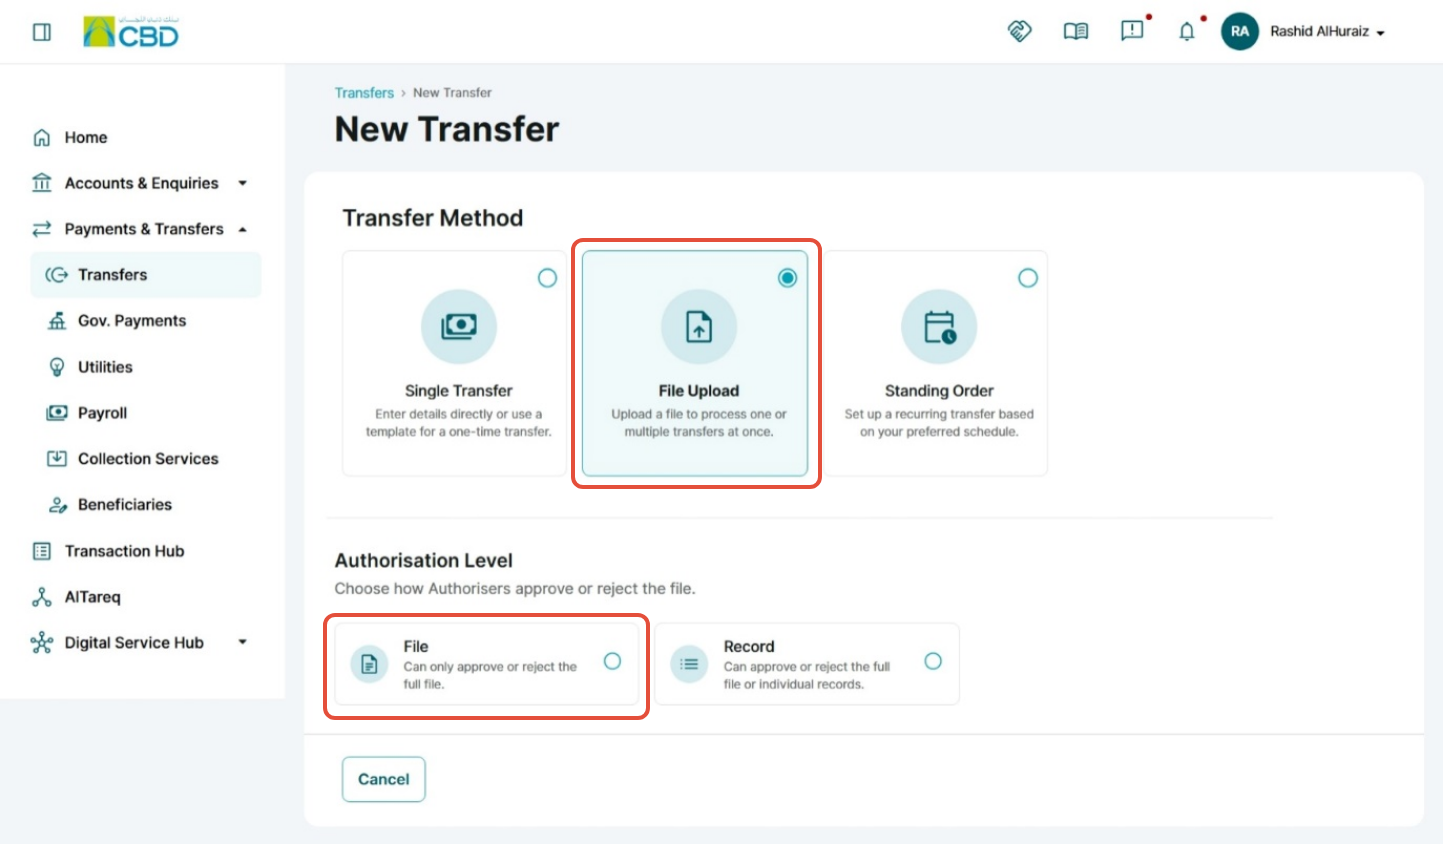
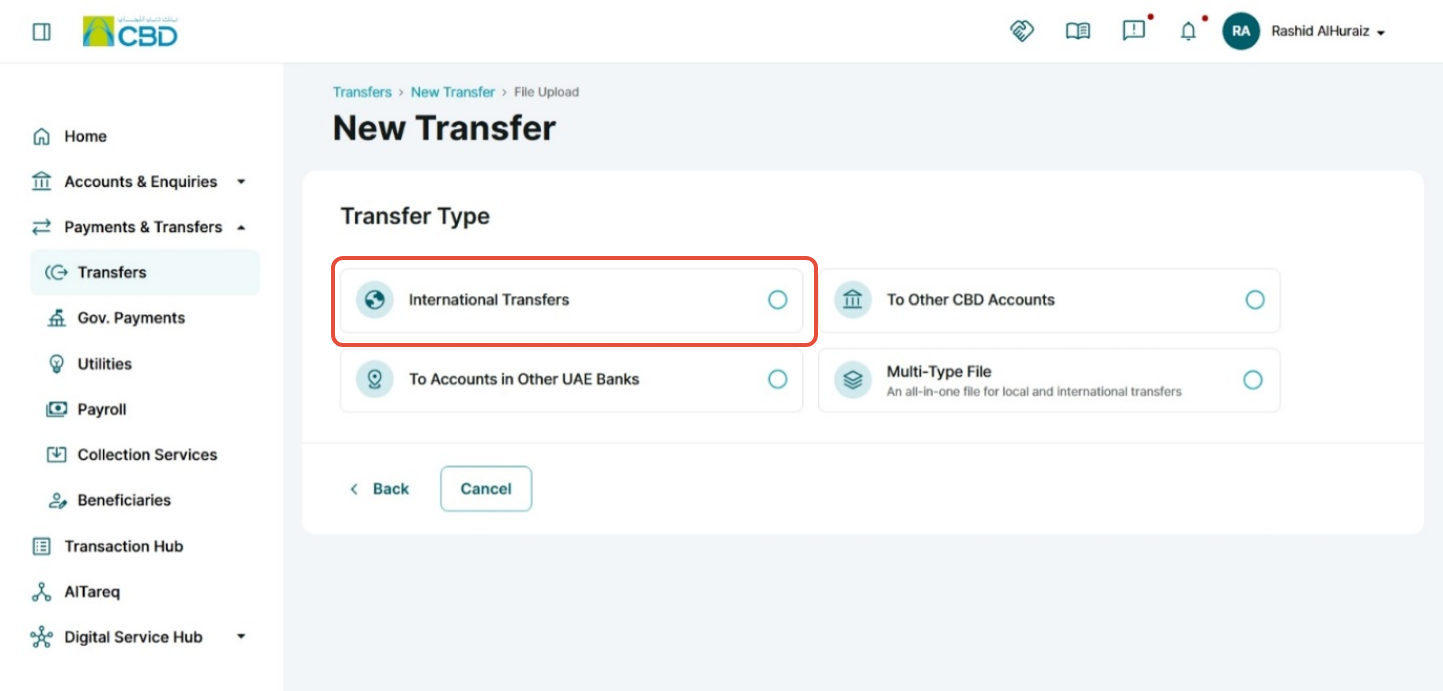
Step 2: Select Transfer Type
- Select File Uploads ➜ File
- Choose International Transfer as the transfer type.
Step 3: Download and Complete the Template
- Download:
- The file template
- The completion guide
- Fill in all required transfer details in the template.

Step 4: Upload and Validate the File
- Upload the completed transfer file.
- The system will validate the uploaded file.
- Validation may take some time depending on file size and number of transactions.
- You will receive an email notification once validation is completed.

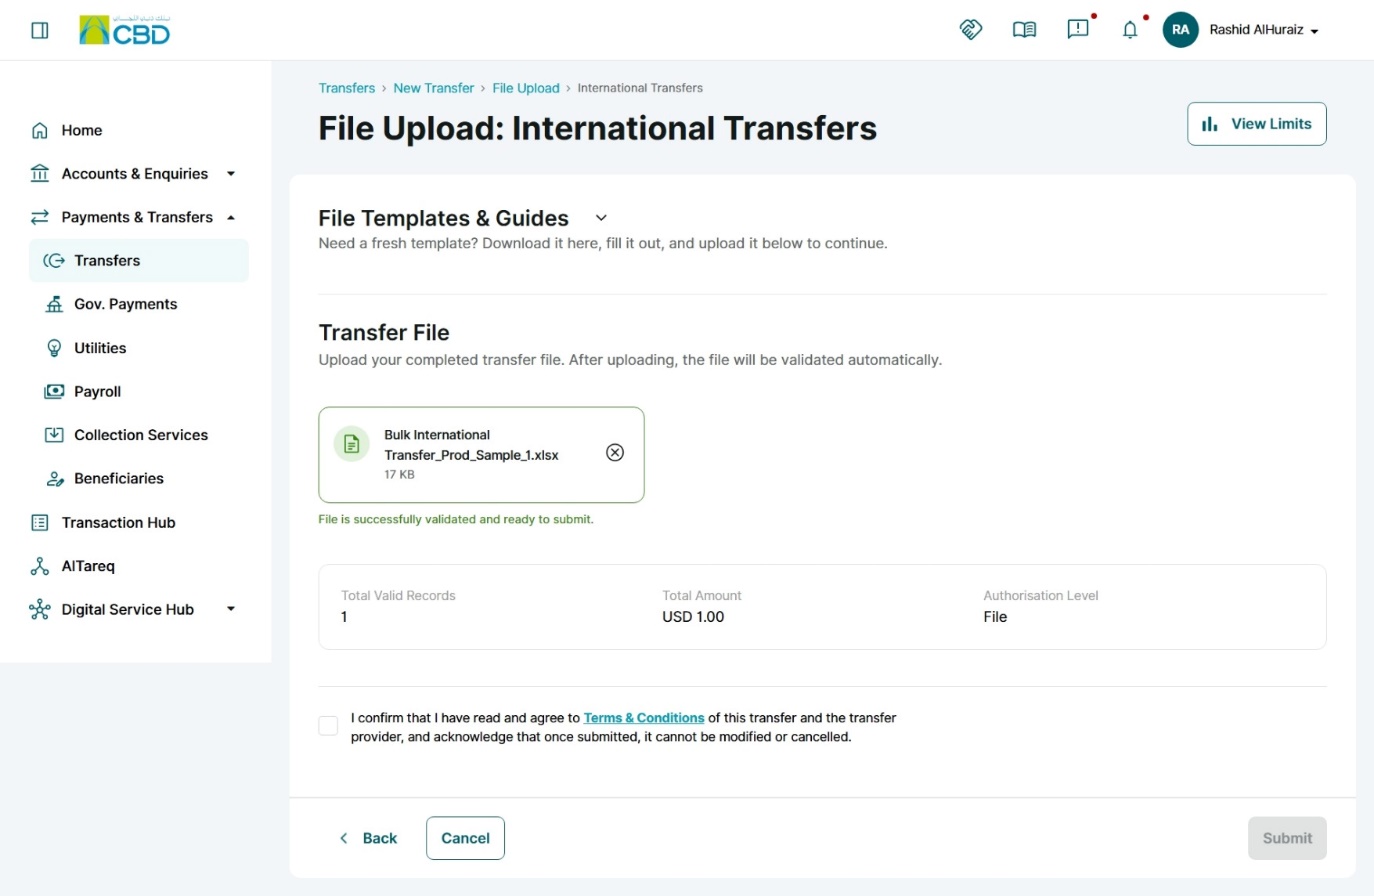
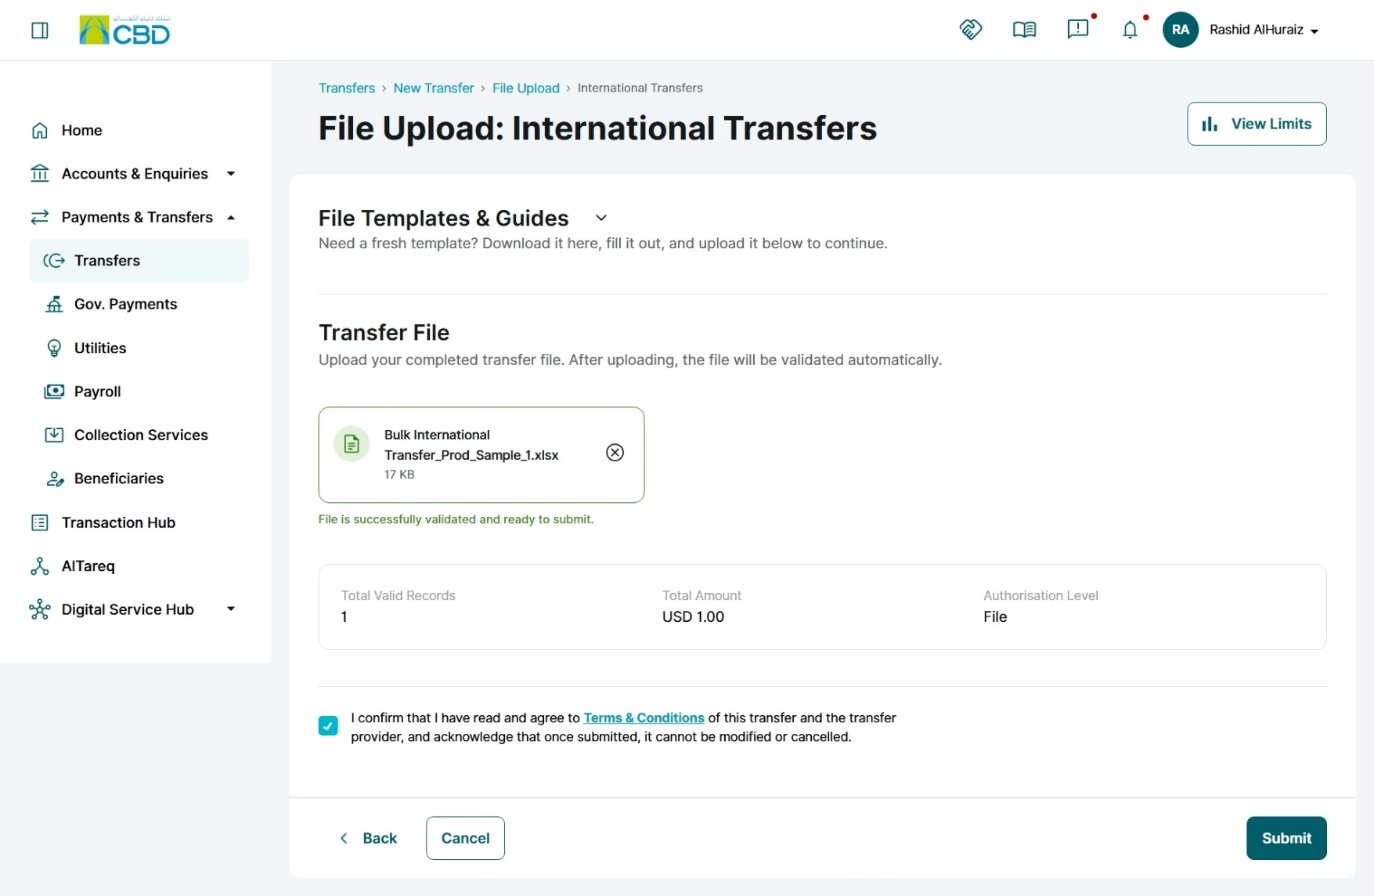
Step 5: Review and Submit
- Review the uploaded transfer details carefully.
- Accept the Terms and Conditions.
- Click Submit to proceed.
Note: The cut-off time for International Payments
Currency | Cut-off Time | Value Date |
Australian Dollar (AUD) | 16:30 | T+1 |
Bahraini Dinar (BHD) | 12:00 | Same day |
Canadian Dollar (CAD) | 16:00 | Same day |
Swiss Franc (CHF) | 16:00 | Same day |
Chinese Yuan (CNH) | 16:30 | T+1 |
Danish Krone (DKK) | 16:00 | Same day |
Euro (EUR) | 16:00 | Same day |
Pound Sterling (GBP) | 16:00 | Same day |
Hong Kong Dollar (HKD) | 16:30 | T+1 |
Indian Rupee (INR) | 12:00 | Same day |
Jordanian Dinar (JOD) | 12:00 | Same day |
Japanese Yen (JPY) | 16:30 | T+1 |
Kuwaiti Dinar (KWD) | 12:00 | Same day |
Sri Lankan Rupee (LKR) | 12:00 | Same day |
Moroccan Dirham (MAD) | 16:30 | T+1 |
Norwegian Krone (NOK) | 16:00 | Same day |
New Zealand Dollar (NZD) | 12:00 | Same day |
Omani Rial (OMR) | 12:00 | Same day |
Pakistani Rupee (PKR) | 12:00 | Same day |
Qatari Riyal (QAR) | 12:00 | Same day |
Saudi Arabian Riyal (SAR) | 12:00 | Same day |
Swedish Krona (SEK) | 16:00 | Same day |
Singapore Dollar (SGD) | 16:30 | T+1 |
Thai Baht (THB) | 16:30 | T+1 |
Turkish Lira (TRY) | 16:00 | Same day |
United States Dollar (USD) | 16:00 | Same day |
South African Rand (ZAR) | 16:00 | Same day |
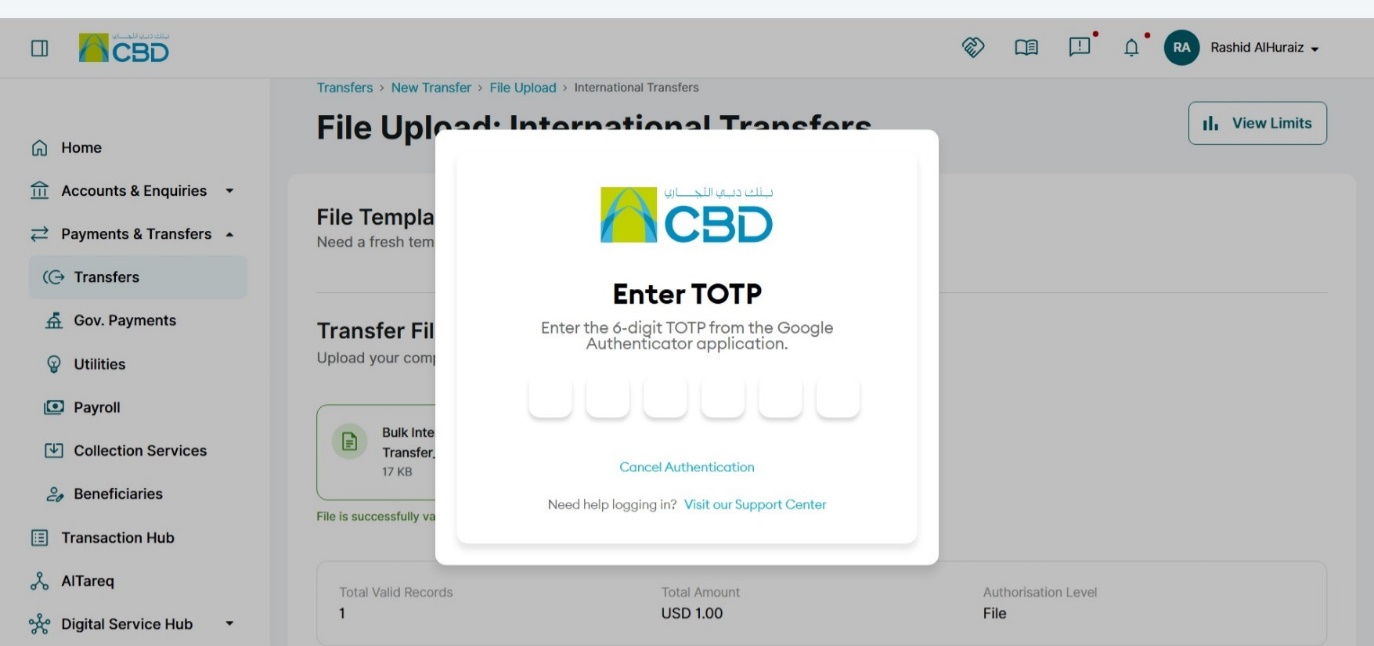
Step 6: Authenticate the Request
Complete authentication using one of the following methods:
Mobile App Authentication
- Approve the request via the iBusiness mobile app notification
- Use biometric or device verification
Google Authenticator
- Enter the One-Time Password (OTP) generated from the app
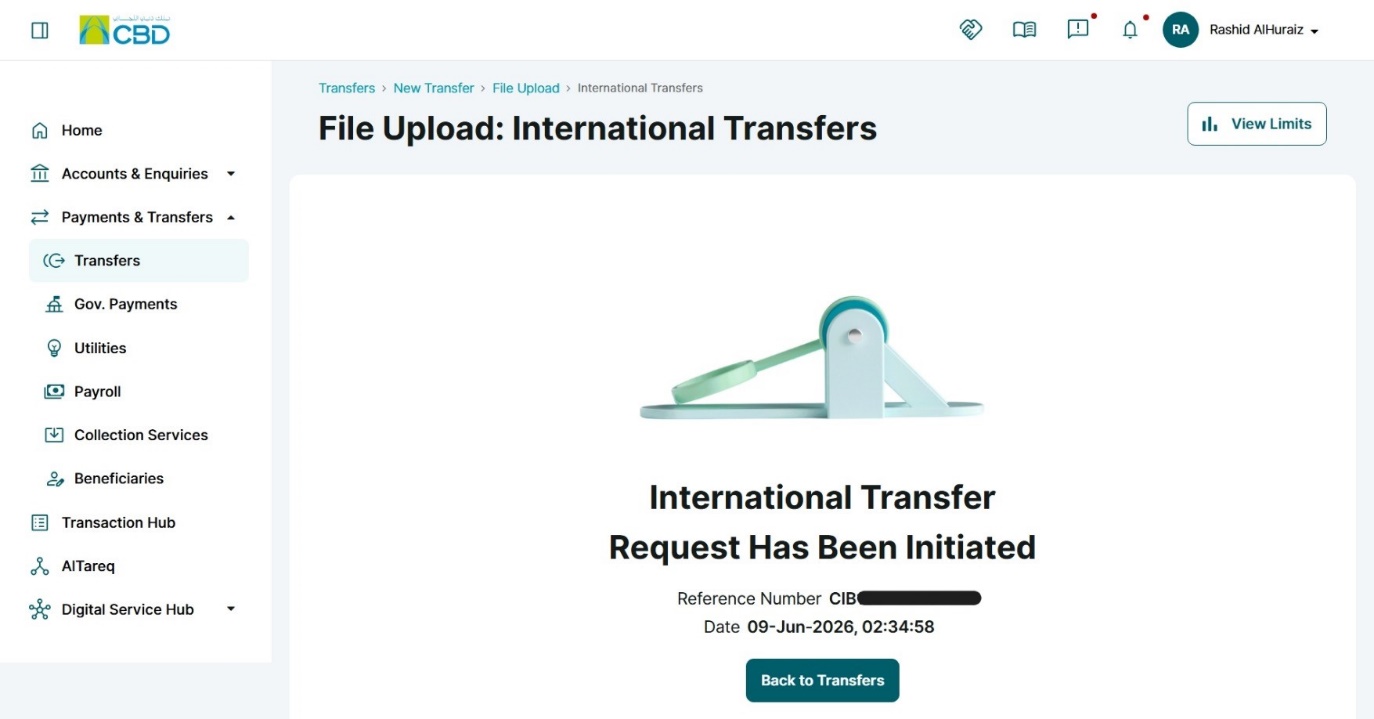
Once authenticated successfully, a confirmation screen with a reference number will be generated.
Step 7: Approval (If Maker–Checker is Enabled)
If a Maker–Checker setup is configured:
- The request is routed to a Checker/Approver.
- The Approver must:
- Log in to iBusiness
- Navigate to Transactions Hub > Pending Your Authorizations
- Review the request and select: Approve or Reject
Support Notes / Best Practices
- Validate all beneficiary and payment details before uploading the file
- Ensure the correct template format is used
- Confirm all mandatory fields are completed in the upload file
- Monitor validation status and email notifications
- Track the generated reference number for audit and troubleshooting purposes
- Maintain Maker–Checker segregation where applicable