
Use this guide to authorise or reject device unpairing requests using the iBusiness Mobile App (Checker / Authoriser role).
Access Device Unpairing Requests
Log in
- Open the iBusiness Mobile App
- Log in as an Admin Checker (Authoriser)
Navigate to transactions
- Tap Transactions from the bottom menu
- Select required request


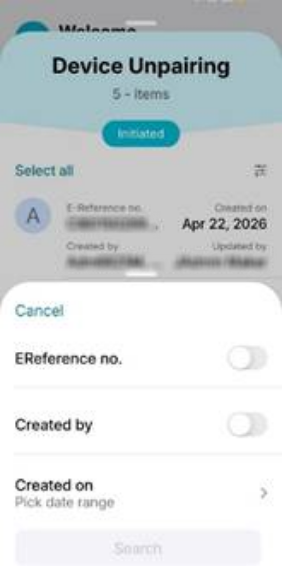
Locate the request
Search for the required request using:
- Reference number
- Creation date
- Created by


2. Authorise Requests
2.1 Authorise a Single Request
- Tap the request to view details
- Review the request information
- Tap Approve


Result
- A confirmation message will be displayed
- A reference number will be generated for tracking
- Tap Done
3. Reject Requests
3.1 Reject a Single Request
- Tap the request to view details
- Tap Reject
- Enter a rejection note explaining the reason
- Tap Submit


Result
- A confirmation message will be displayed
- A reference number will be generated
- Tap Done
Helpful Tips
- Use the reference number to track requests
- Ensure the correct request is selected before authorising or rejecting
- Provide clear rejection notes for better audit tracking